Tuesday, April 18, 2006

What's that they say about slow and steady?

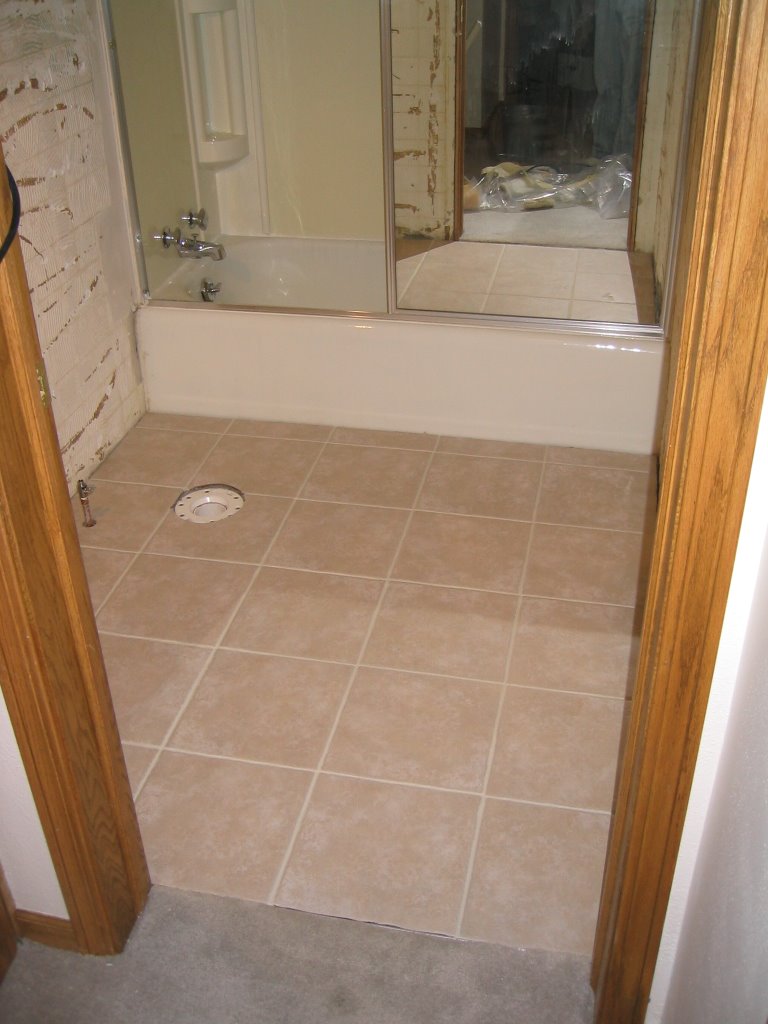
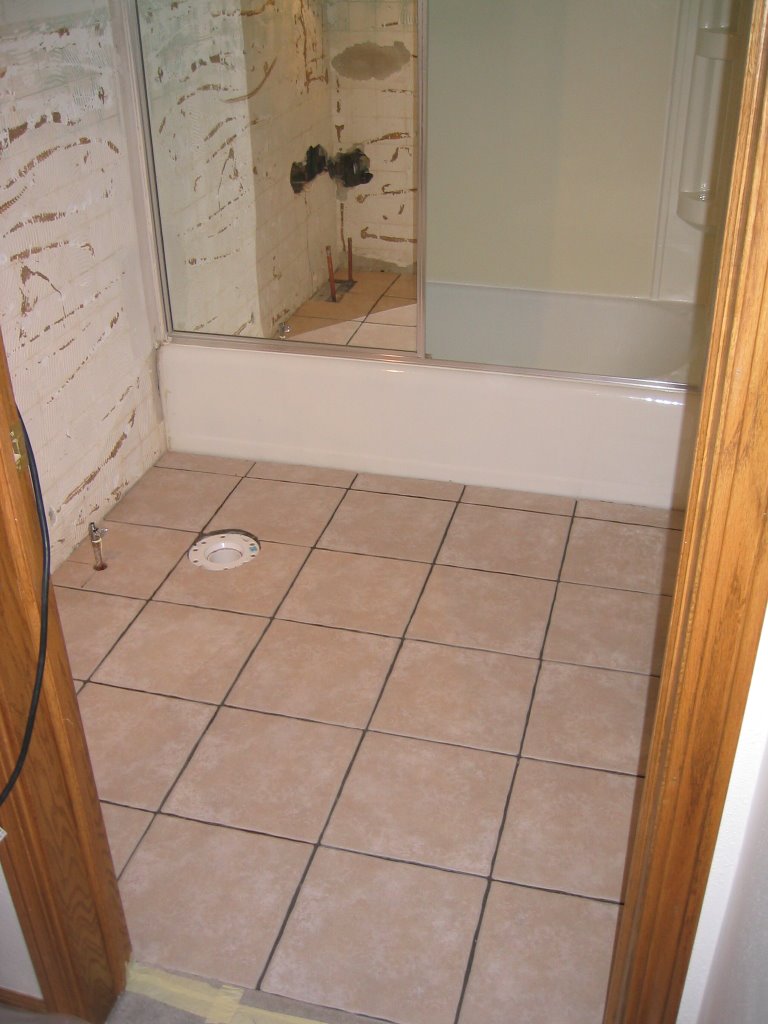
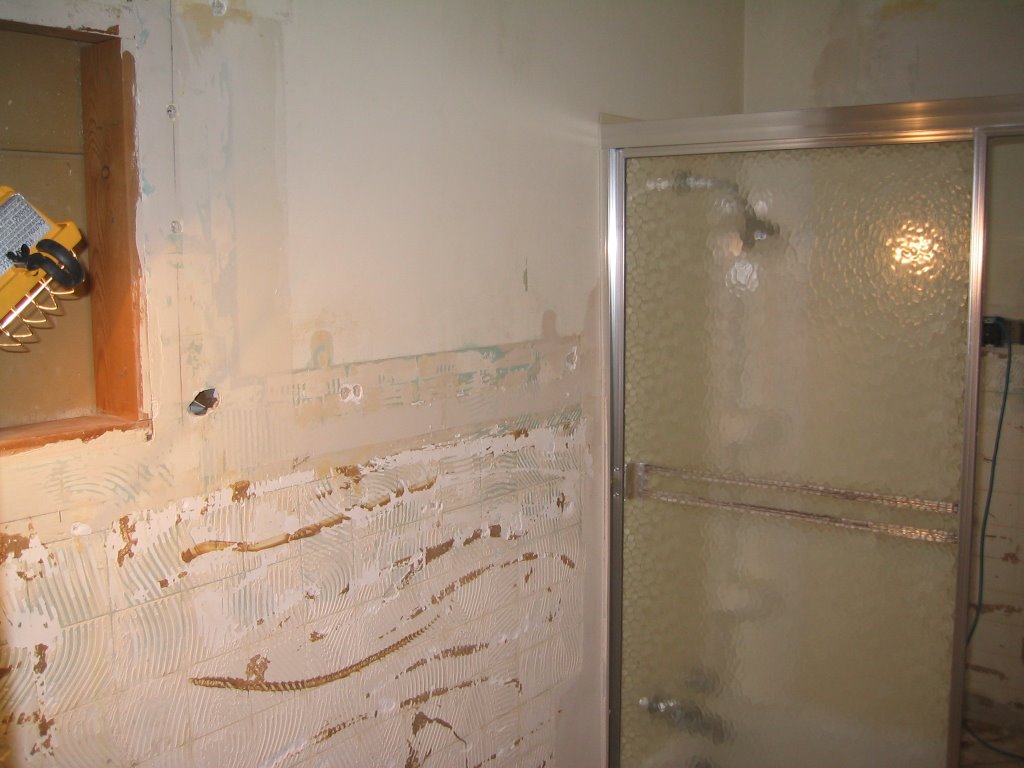
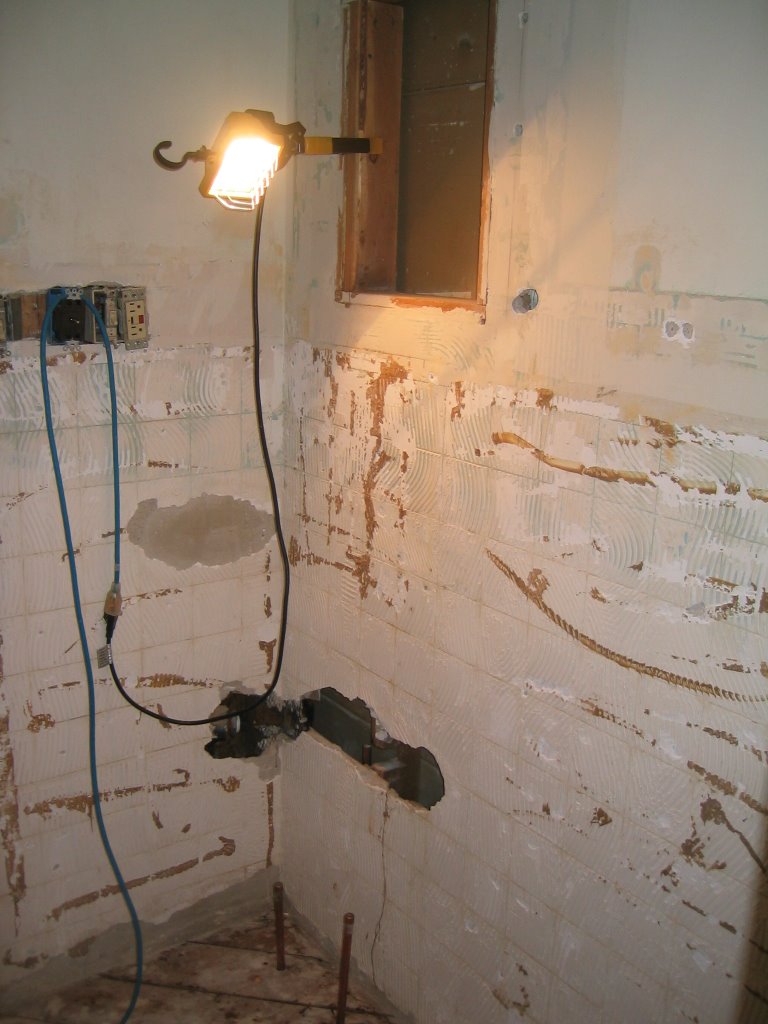
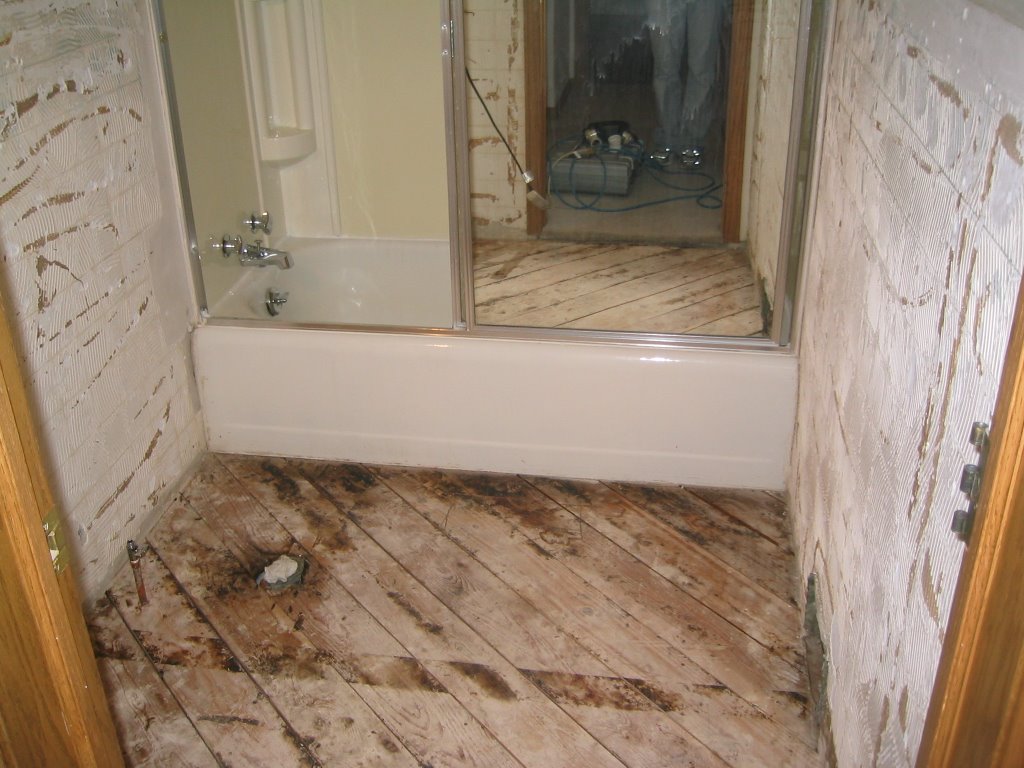
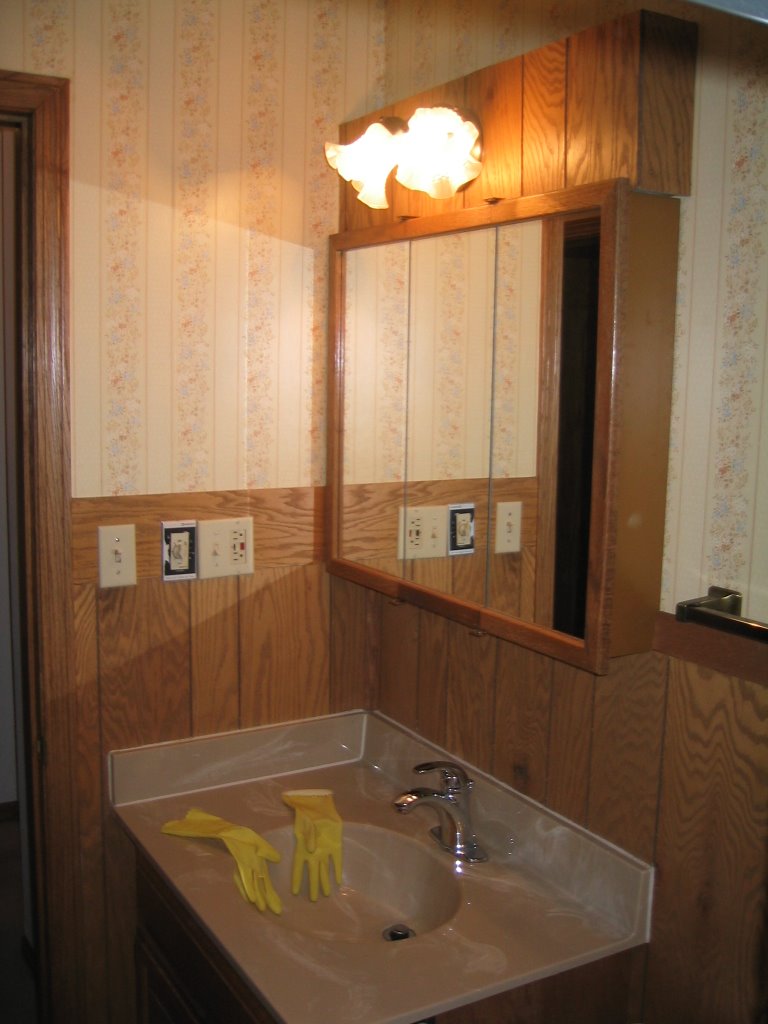
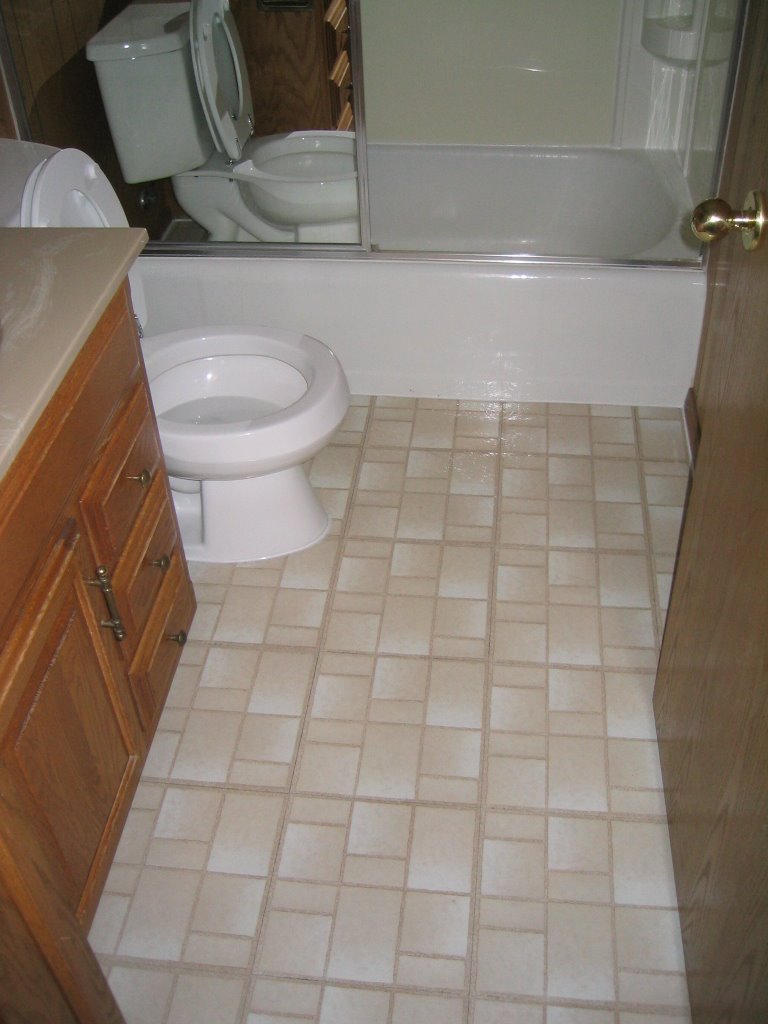
It's been almost two weeks since I have posted pics so I figured I better start posting again before people started thinking that my blog was just a passing fad (note: it still is a passing fad, it just hasn't quite passed yet). One of the reasons that I haven't posted any pics lately is because most of what I have been spending my time on hasn't really made a big visual impact on the bathroom. It's the little details that take forever to overcome, but people don't notice them unless you have done a poor job of addressing them. Enough of the small talk, here are the standard three views of the bathroom:


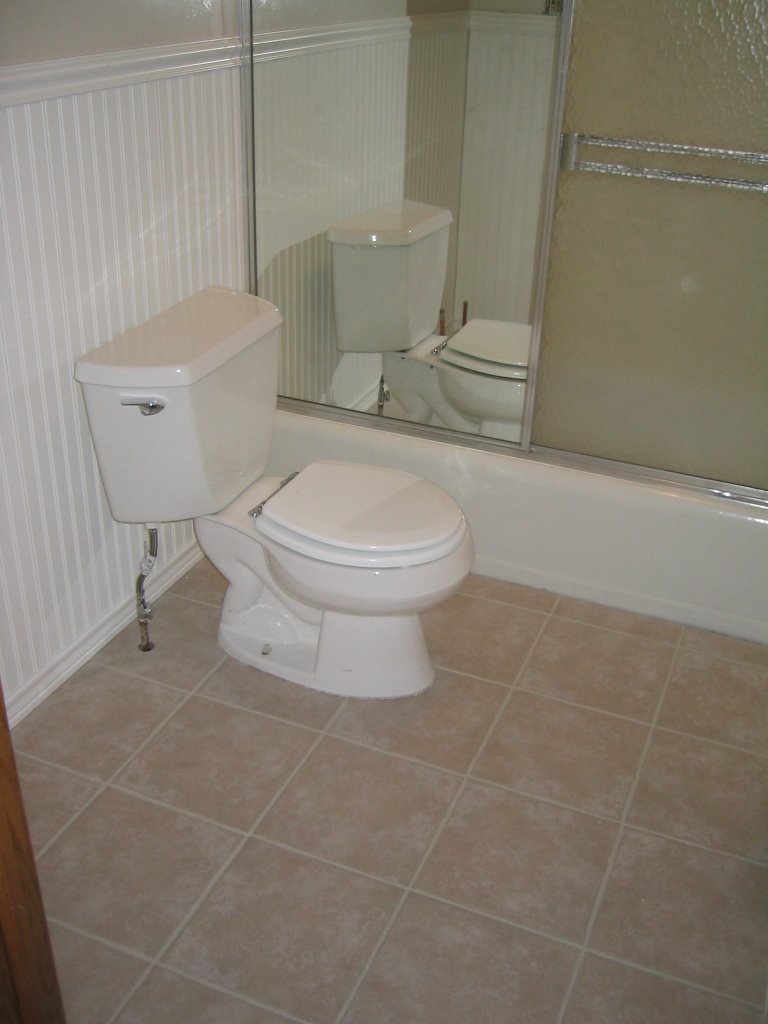
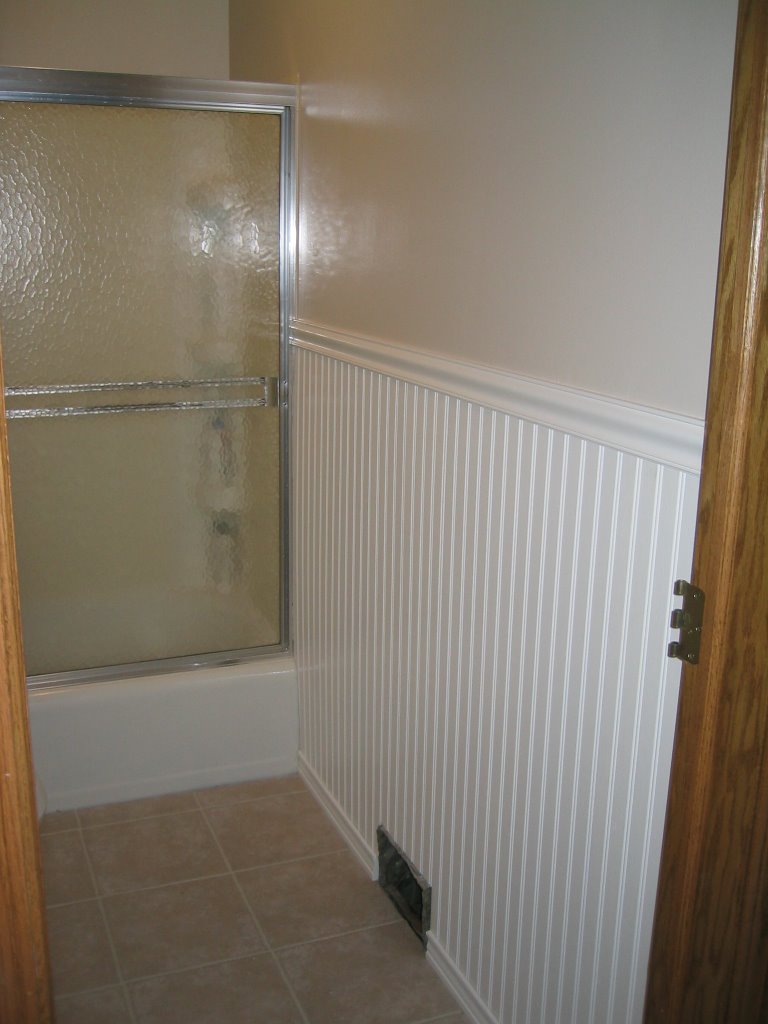
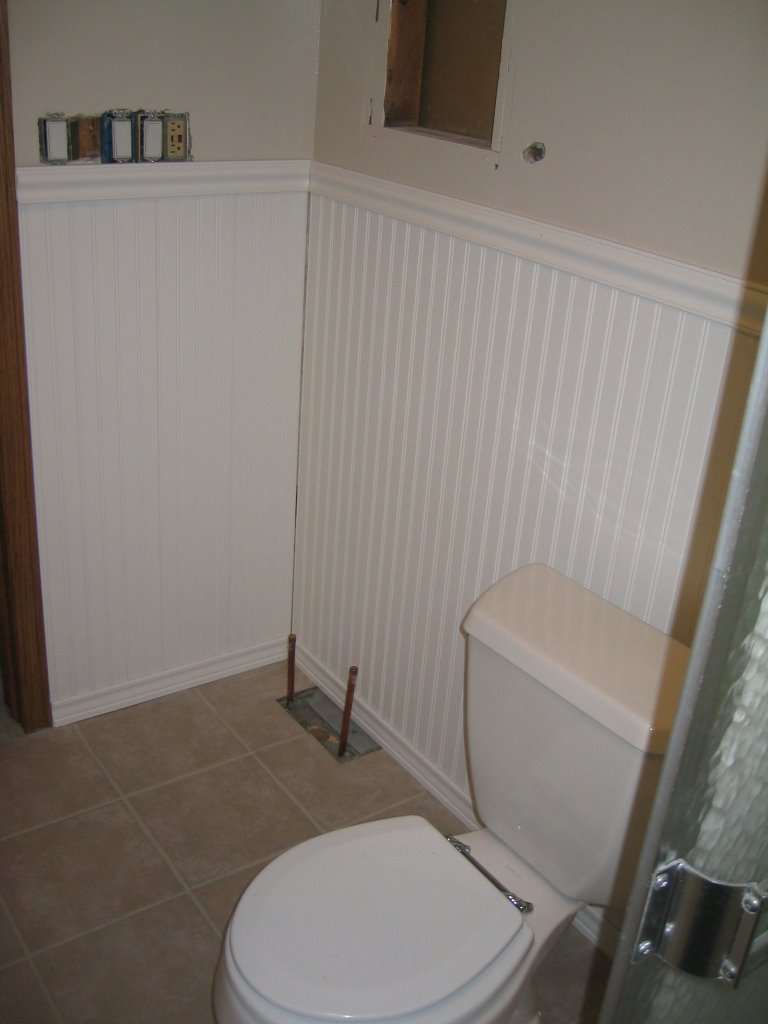
As you can see it still needs a lot of work. The most recent accomplishment is getting the Wainscot up. I was able to borrow a pancake compressor and a brad nailer from my brother-in-law so that helped out a lot. We actually painted the Wainscot ahead of time and then used liquid nails and brads to install it. Painting the Wainscot was a whole story in itself. I first tried using a paintbrush and I just couldn't get the super smooth finish that we wanted. Then I tried about 3 different roller covers and still didn't have any luck. Finally I used some logic that involved painting the house this summer and painting the basement when we finish it to justify buying one of these which I can be seen using here:


Now before you make fun of me for wearing a dust mask, notice the haze of dust in the air that is so thick that you can barely see the far wall of the garage. To make a long story short, the airless sprayer worked great and the finish turned out incredibly smooth.

Now the Wainscot is up, but I still need to custom cut the last piece of trim to fit the light switch plates, add the corner trim, fill and paint the nail holes, and caulk between the Wainscot and the shower. The next step after the Wainscot is to put in the vanity, mirror, and light bar. After that there will only be a few finishing details and it will be done (famous last words).

That's enough rambling for now. Back to work...

Tuesday, March 28, 2006

Tiling is done!

Finally, the tiling is (almost completely) done. I realized after I already typed the title that I still have to caulk around the perimeter of the tile, but the tiling itself is done. I put the grout in yesterday and did final cleaning/haze removal today. We can walk on the tile now, but I probably still won't be able to install the toilet until Wed or Thurs. I only included one pic, but you can get the basic gist of the tile looking done and the rest of the bathroom in complete disarray.

Sunday, March 26, 2006

Finally, some progress that isn't demolition

I got a lot of work done this weekend on the bathroom. The first pic shows the new 3/4" plywood that I put down on Saturday. The next pic shows the tile that I put down today. In between those pics I had to put 1/4" Wonderboard (cement backerboard) to have a nice stiff surface for the tile. On top of the plywood is a layer of thinset morter, then backerboard, then thinset morter, then the tile. The lines between the tiles look wavy because the tile that we went with has wavy edges to give it the rustic look of stone or something like that. I did end up buying a wetsaw to cut the tile because that was the only way could make the curved cuts that I needed to make around the closet flange (the thingie that the toilet hooks to for those of you non-handyman types). Luckily Menards had a wetsaw on sale for $45 which is only $5 more than it would have cost to rent one. I could go into more details, but they would probably be boring and I am getting pretty tired anyway. The next step is to seal the tile and then grout the tile. I will be doing both of those steps tomorrow so that the grout can start curing as soon as possible. Oh yeah, did I mention that the grout has to cure for three days? That means I can't put up the wainscot or put in the toilet for three days. I will try to post again after I get the grout down (I am sure you will be waiting with bated breath).

Thursday, March 23, 2006

After demolition pics...

As promised, I am finally posting pics of what the bathroom looked like after we took out everything that had to go. These three pics are taken from roughly the same angles as the three pics in my "before" post. See if you can spot any differences between the "before" pics and the "after demolition" pics.


Friday, March 17, 2006

A lot of people (ok, maybe just two) have asked to see pics of some of the projects that Heather and I are doing in our new house. Our major project is remodeling the bathroom. I have posted 3 pics below of what the bathroom looked like when we moved in. The highlights include the wood paneling, the stick on linoleum tiles, and some sweet sweet wallpaper. The first pic is a view from standing in the doorway, the second pic is a view from standing in the tub, and the third pic is a view from the doorway of the floor. Right now I am just posting the before pics because my most current pics of the progress are still in my camera which is at the house.